Configuration - Tawk.To Live Chat
Buy NowThe Tawk.to Live Chat nopCommerce Plugin allows store owners to integrate a live chat widget into their nopCommerce store. This helps in real-time communication with customers, improving support and conversions.
Installation and Configuration
All our plugins require you to first install the NopAdvance.Core plugin as a prerequisite for its operation. Please refer to the instructions on how to install a plugin while proceeding with the setup.
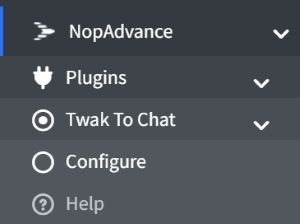
Once installed, the Tawk.To Live Chat menu will appear under NopAdvance > Plugins in the NopCommerce admin panel, as shown in the image below.
Configuration Settings
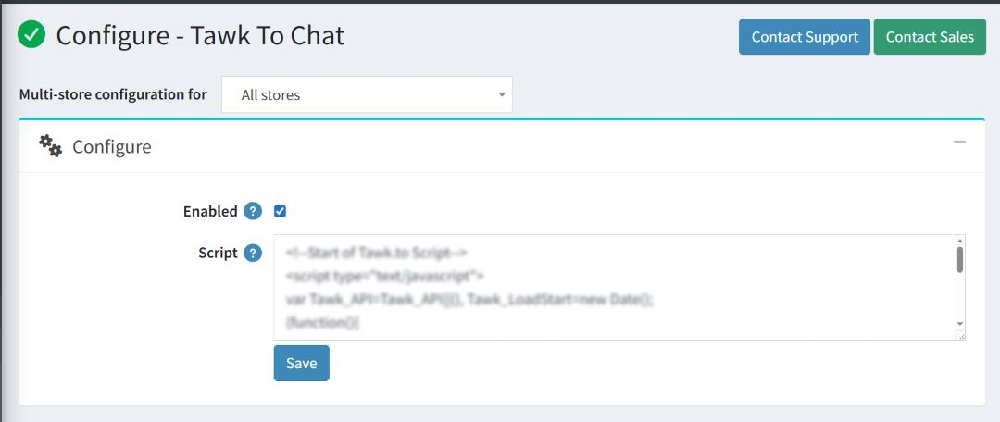
Clicking on the Configure menu will open the configuration page, as shown in the image below.
- Enables or disables the chat widget
✔ Checked → Chat widget will be visible on the store
❌ Unchecked → Chat widget will be hidden
Chat Script Code from Chat Provider
- Paste the Tawk.to script here
- Script is provided after account setup
Save Button
Click Save after adding the script and enabling the plugin
How to Configure Tawk.to
Tawk.to Example
Tawk.to is a leading live chat solution widely used across eCommerce, B2B, and B2C websites to enhance real-time customer communication. This section provides a step-by-step guide to integrating and configuring Tawk.to with the Chat Widget plugin in your nopCommerce store, enabling seamless customer support and engagement.
Step 1: Create Tawk.to Account
- Go to: https://www.tawk.to
- Sign up for a free account
Retrieve Tawk.to Live Chat Widget Script
If you missed copying the chat widget script during the final step of registration, you can easily retrieve it from your Tawk.to dashboard by following the steps below:
Steps to Retrieve the Script
- Log in to your Tawk.to Dashboard.
- From the left-hand menu, navigate to the Add-ons section.
- Click on Chat Widget.
- Locate the Widget Code section.
- Copy the provided script code.
Note
- Ensure that you copy the complete script code without making any changes.
- This code is required to integrate the chat widget with your nopCommerce store.
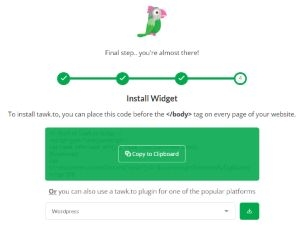
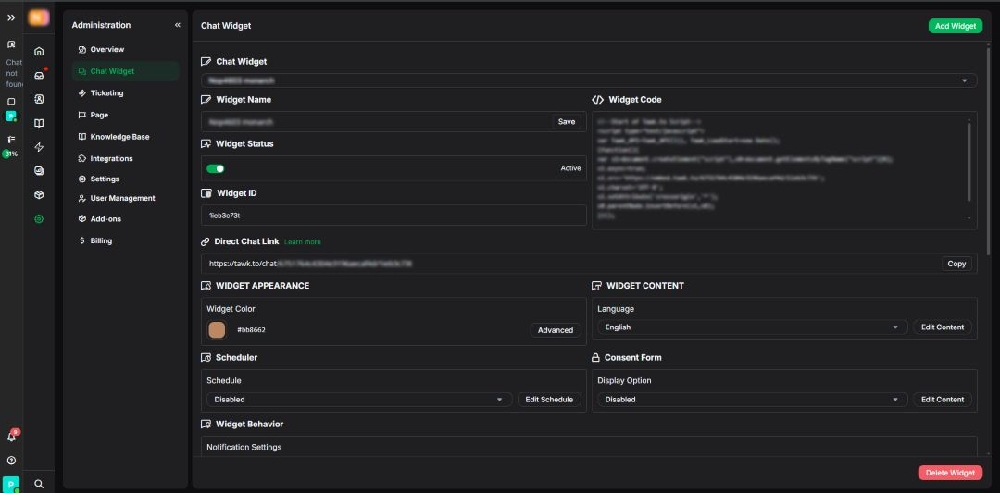
Reference: Refer to the image below for guidance on locating the widget code in the dashboard.
If you missed copying the script during the final step of registration, you can retrieve it from your Tawk.to dashboard. Navigate to the Add-ons menu in the dashboard, then click on Chat Widget. From the Widget Code section, copy the script as shown in the image below.
Steps to Add the Script
Paste the copied script into the “Chat Script Code from Chat Provider” textbox in the Chat Widget plugin configuration page.
Click the Save button to apply the changes.
Note
- Ensure the entire script is pasted correctly without modification.
- Saving the configuration will activate the chat widget on the storefront (if the plugin is enabled).
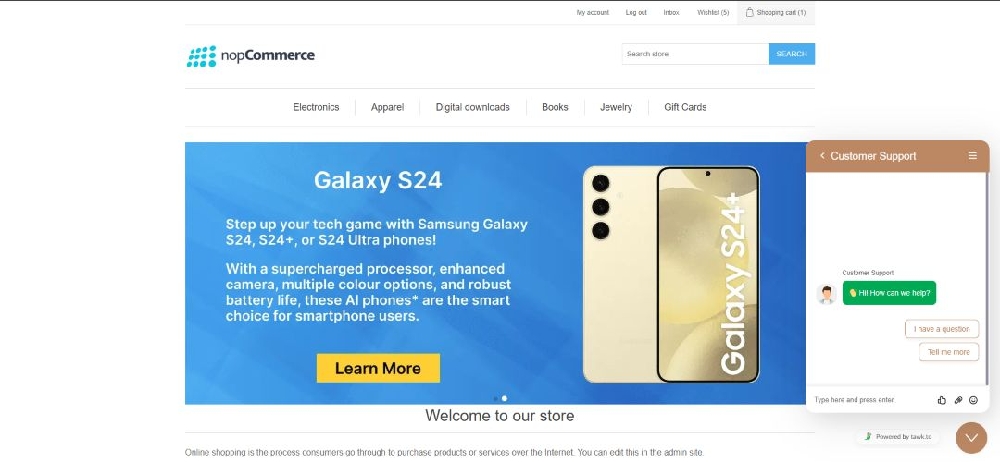
After completing the configuration, clear your browser cookies/cache or restart your website to ensure the changes take effect properly.
Navigate to the public store and refresh the page of your nopCommerce website. The chat widget should now be visible on your store, as shown in the image below.