User Guide - Rubix
Buy NowThis theme is delivered with a theme plugin and NopAdvance Core plugin, and both plugins must be installed in order for this theme to work properly.
Please see the plugin installation guide before proceeding with the theme setup. We recommend configuring the theme plugin before you select Rubix as your store's working theme.
This theme is delivered with a theme plugin and NopAdvance Core plugin, and both plugins must be installed in order for this theme to work properly.
Please see the plugin installation guide before proceeding with the theme setup. We recommend configuring the theme plugin before selecting Rubix as your store’s active theme.
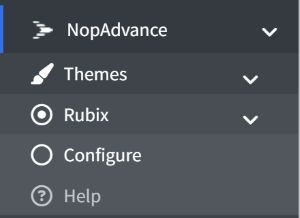
Once the theme plugin has been installed, navigate to:
NopAdvance → Themes → Rubix in your nopCommerce admin menu, as shown in the image below.
Clicking on the Configure menu item will redirect you to the plugin configuration page as displayed below.
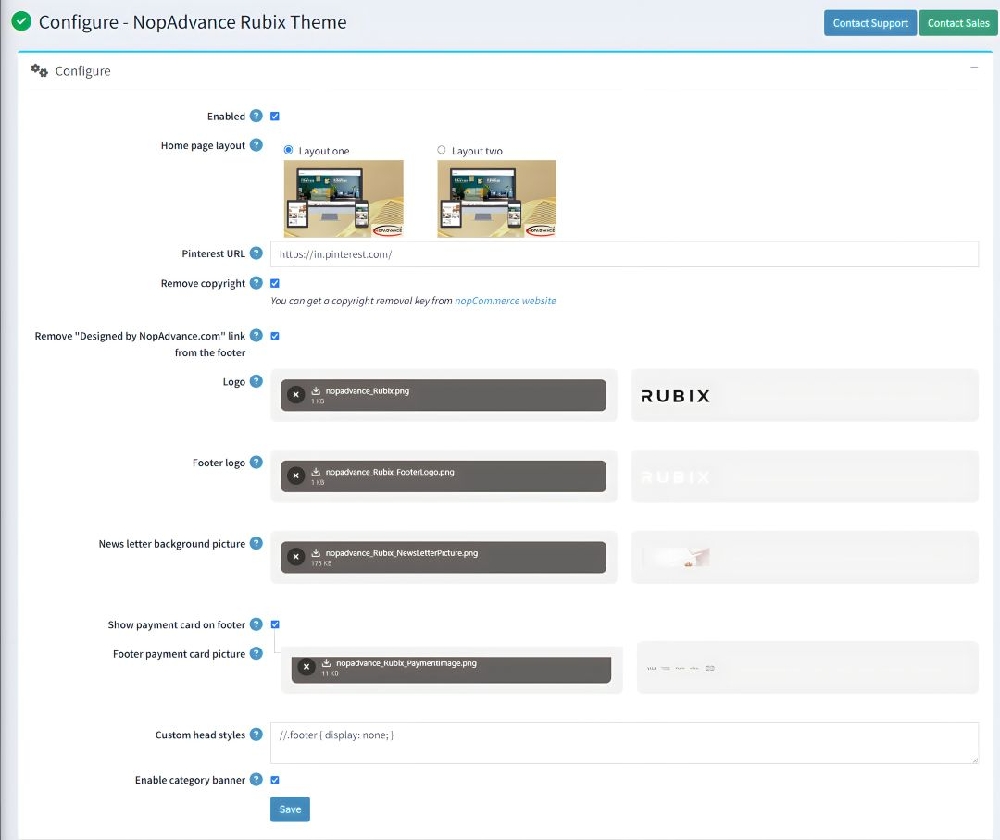
Configuration Settings
The settings from the configuration page are explained below:
Enable
Check to enable the plugin for your nopCommerce store. Some theme features may not work properly unless this is enabled.
Home Page Layout: Select the homepage layout design:
- Layout One: Default layout style
- Layout Two: Alternative layout design
- Pinterest URL: Provide your Pinterest profile URL to display the Pinterest icon in the website footer. Leave blank if not required.
- Remove Copyright: Check this option to remove the nopCommerce copyright notice (only applicable if you have a valid license).
- Remove the "Designed by NopAdvance.com" link from the footer: Enable to hide the developer credit link from the website footer.
- Logo: Upload and set the main store logo displayed in the header.
- Footer Logo: Upload a separate logo for the footer section.
- Newsletter Background Picture: Upload an image to be displayed as the background of the newsletter subscription section.
- Show Payment Card on Footer: Enable to display accepted payment method icons in the footer.
- Footer Payment Card Picture: Upload an image representing accepted payment methods.
- Custom Head Styles: Add custom CSS to modify the theme design. This option is intended for developers or advanced users.
- Enable Category Banner: Check to display category banners on category pages. After enable this option you can add banner from the edit category page as you need
- After making any changes, click the Save button to apply the settings.
Note:
- All settings support multi-store configuration.
- Features of this plugin will only work with the Ribix theme from NopAdvance.