User Guide - Hosted Cron-Jobs
Buy NowThis plugin comes bundled with the NopAdvance Core plugin, which is a prerequisite for its operation. Please follow the plugin installation instructions available here to proceed with the setup.
Configure
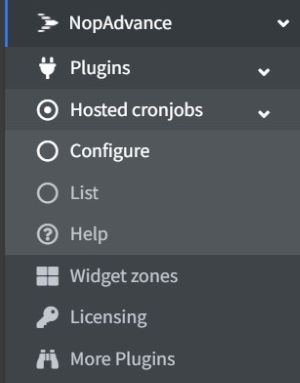
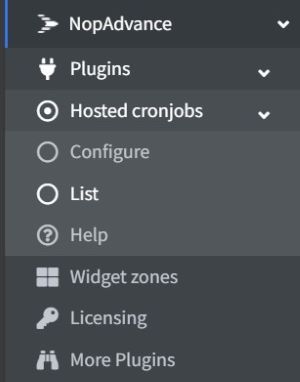
After successful installation, navigate to the plugin menu by selecting NopAdvance > Plugins > Hosted cronjobs > Configure from your nopCommerce admin dashboard. This should reflect a menu similar to what is shown in the following image.
After selecting the Configure option, you'll be directed to the configuration page, as depicted in the accompanying image. On this page, you have the flexibility to enable or disable the plugin. Additionally, it allows you to establish other necessary plugin settings for certain general aspects of the plugin.
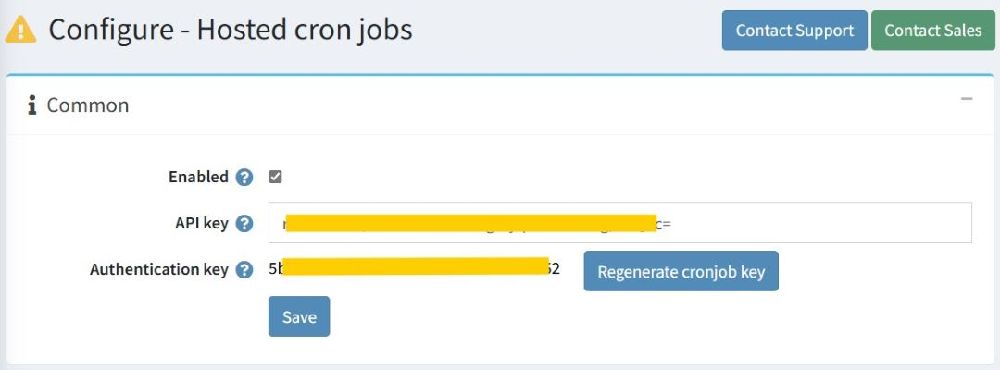
The Hosted Cron Jobs plugin offers a simple yet powerful way to integrate and manage advanced cron jobs in your nopCommerce store by connecting to your Cron-Job.org account. Here's an overview of the settings:
- Enabled: This checkbox allows you to enable or disable the Hosted Cron Jobs plugin. When enabled, the plugin will be active and ready to manage your scheduled tasks using Cron-Job.org.
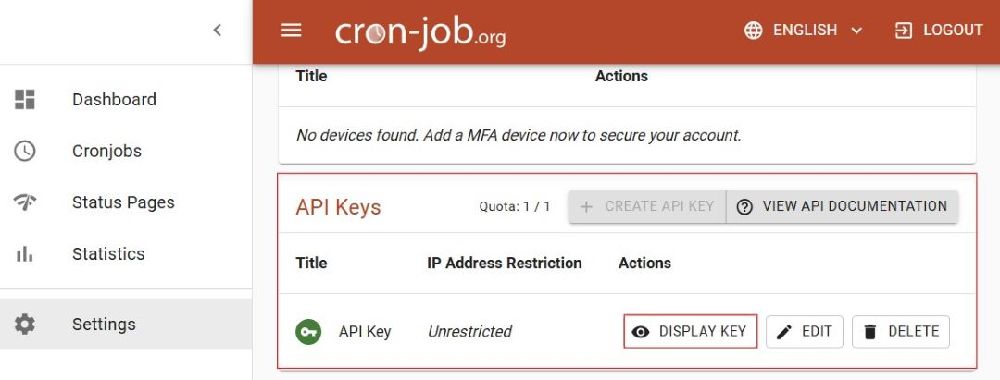
- API Key: The API Key field is crucial for connecting your nopCommerce store to your Cron-Job.org account. To use this plugin, you'll need to generate an API key from your Cron-Job.org account settings (as shown in the image) and paste it into this field.
- Steps to Obtain API Key:
- Log in to your Cron-Job.org account.
- Navigate to "Settings" and find the "API Keys" section.
- Create a new API key if needed, or use an existing one by displaying it (as shown in the image).
- Copy the API key and paste it into the API Key field in your nopCommerce plugin settings.
- Steps to Obtain API Key:
- Authentication Key: The Authentication Key adds an extra layer of security to ensure that only authorized cron job calls are executed on your nopCommerce store. This key prevents unauthorized users or malicious code from triggering your scheduled tasks.
- How to Use:
- Generate an authentication key using the "Regenerate cronjob key" button in the plugin settings.
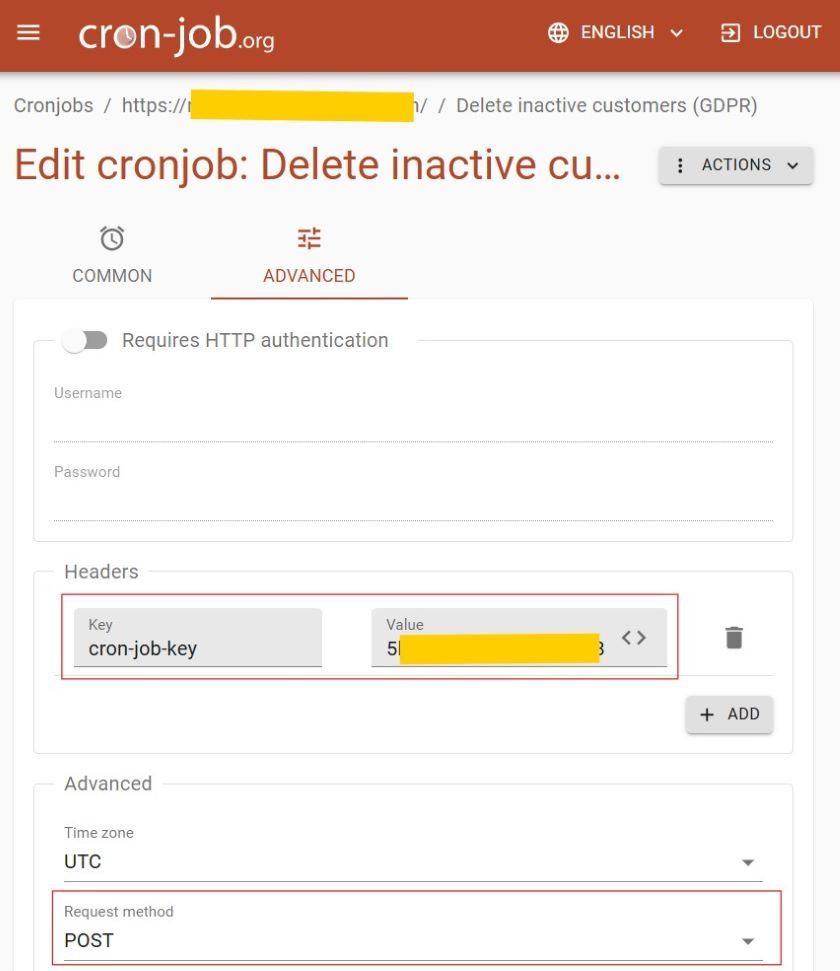
- While creating or editing a cron job in the Cron-Job.org user panel, go to the "Advanced" settings.
- Add a header with the key name "cron-job-key" and paste the generated authentication key as its value.
- Ensure that the request method is set to POST, as shown in the provided image.
- How to Use:
Plugin List Page
The Hosted Cron Jobs plugin list page is designed to provide you with a comprehensive view and control over all scheduled tasks within your nopCommerce store. This page lists all the scheduled tasks configured in your store, allowing you to manage them effectively.
Key Features of the Plugin List Page:
- Unified Task Management: The plugin allows you to manage all your scheduled tasks from a single interface. You can view and configure tasks that are either running via nopCommerce’s default scheduling system or those you want to manage using Cron-Job.org.
- Selective Task Configuration: One of the main advantages of the Hosted Cron Jobs plugin is the flexibility it offers. You can choose to run specific scheduled tasks using Cron-Job.org, giving you the ability to set specific intervals, times, or dates with greater precision. This is particularly useful for tasks that require more complex scheduling than what the default nopCommerce scheduled tasks can provide.
- Dual Scheduling Options: You can still use the default nopCommerce scheduled tasks system for many of your tasks, while opting to use Cron-Job.org only for those tasks that need enhanced scheduling capabilities. This dual approach ensures that you can leverage the best of both worlds, depending on your specific needs.
- Important Note on Task Management: When you decide to enable and configure a scheduled task to run via Cron-Job.org, it’s crucial to manually disable that task on the nopCommerce default scheduled tasks page. This prevents conflicts and ensures that the task is not running simultaneously on both platforms, which could cause issues.
In the following sections of the documentation, we will explain in more detail how to configure tasks, manage them effectively, and ensure seamless operation between nopCommerce’s default scheduling and the Hosted Cron Jobs plugin.
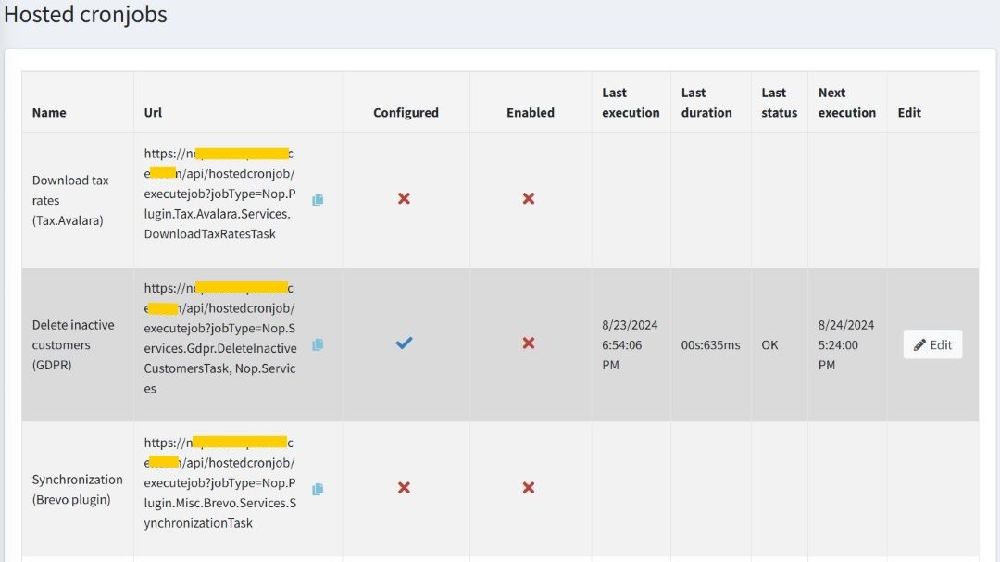
List Page Overview
The Hosted Cron Jobs plugin list page is designed to automatically display all the scheduled tasks configured within your nopCommerce system. This page provides a clear and comprehensive view of each task’s status, configuration, and execution details, enabling you to manage and monitor your scheduled tasks effectively.
Key Components of the List Page:
- Name: This column displays the name of each scheduled task as it appears in the default nopCommerce scheduled tasks list. It allows you to easily identify and manage the tasks that are relevant to your store's operations.
- URL: The URL provided in this column is pre-prepared for you to use when configuring a cron job in your Cron-Job.org account. This URL is essential for linking the nopCommerce scheduled task with Cron-Job.org, enabling advanced scheduling capabilities.
- Configured: This column indicates whether a particular task has been configured in your Cron-Job.org account. A checkmark here confirms that the task is set up and recognized by Cron-Job.org.
- Enabled: The Enabled column confirms whether the scheduled task is currently active in your Cron-Job.org account. If the task is enabled, it will be executed according to the schedule you've set up in Cron-Job.org.
- Last Execution: This field provides the date and time when the task was last executed via Cron-Job.org. It helps you monitor the actual execution of your tasks and ensure they are running as expected.
- Last Duration: The Last Duration column shows how long the last execution of the task took. This information is useful for understanding the performance of your scheduled tasks and diagnosing any potential issues.
- Last Status: This status indicates the outcome of the last execution of the task. It helps you quickly identify if a task was successfully completed, encountered an error, or if other actions are needed.
- Next Execution: This column tells you when the task is scheduled to run next, providing clarity on the upcoming execution times and allowing you to manage your tasks proactively.
- Edit: The Edit button allows you to modify the configuration of the task within your Cron-Job.org account. Currently, the edit functionality supports enabling or disabling a cron job. However, future updates will include more configuration options, allowing for greater control directly from this list page.
Important Notes:
- Manual Configuration Required: Although the Hosted Cron Jobs plugin automatically lists all nopCommerce scheduled tasks, each cron job needs to be manually configured in your Cron-Job.org account using the provided URL. This setup is necessary to enable the advanced scheduling features that Cron-Job.org offers.
- Future Enhancements: While the current version of the plugin supports basic editing of the enabled status, future updates will expand these capabilities to include additional configuration options, streamlining the management of your cron jobs directly from the list page.
By using this list page, you can effectively monitor and manage your nopCommerce scheduled tasks, taking full advantage of the enhanced scheduling and automation capabilities provided by the Hosted Cron Jobs plugin and Cron-Job.org.