Plugin Guide - Hello Bar
Buy NowInstallation and Configuration
This plugin is delivered with the NopAdvance Core plugin on which this plugin is dependent. You need to install the plugin using the plugin installation guide provided here.
Once the plugin has been installed, you will see the plugin menu under NopAdvance > Plugins > Hello Bar in your nopCommerce admin menu, similar as displayed in the below image.
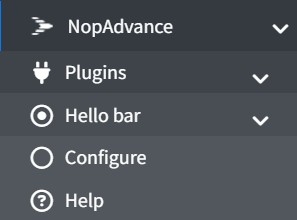
Click on Configure menu item from the Hello Bar menu as displayed above and you will be redirected to the plugin Configuration page.
Once you click on the configure menu item, it will display the configuration page as shown in the image below.

- Enable: At the top of the page, you can enable or disable the Hello Bar plugin. Select this setting to enable the Hello Bar plugin on your nopCommerce website store.
- Save Button: Click this button to save your changes after enabling or disabling the plugin.
Manage Hello Bars
On the same Configure page, you can manage your Hello Bars. This section allows you to view, search, and create new Hello Bars. It will display the Hello bars page as shown in the image below:
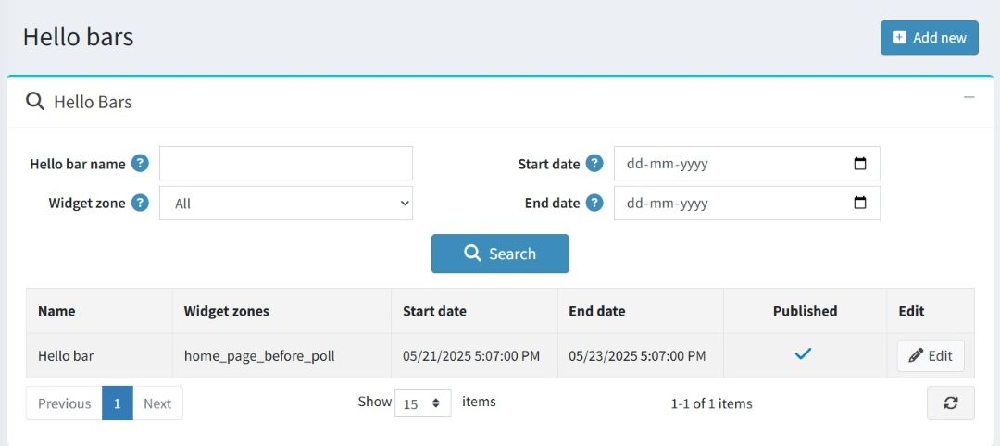
On the Hello bars section, a search panel is available to search hello bars & list of existing hello bars.
Search Hello Bar
- Name: Enter the name of the Hello bar you want to search and click on the “Search” button.
- Widget zone: Search a Hello bar by its widget zone. By default, it will be selected as “All”, which means all existing hello bar details will be displayed in the grid section.
- Start date/End date: Add the start date and end date to the search Hello bar.
Edit an Hello Bar
Below the search panel, a list section is displayed where all the added Hello Bars are shown. you can see an edit button on a hello bar as shown in the image above:
- Click on the edit option on a Hello Bar you want to edit and make needed changes.
- Then click on the Save button.
Add a new Hello Bar
Once you clicked on Add New button, it will display the Add a new hello bar as shown in the image below.
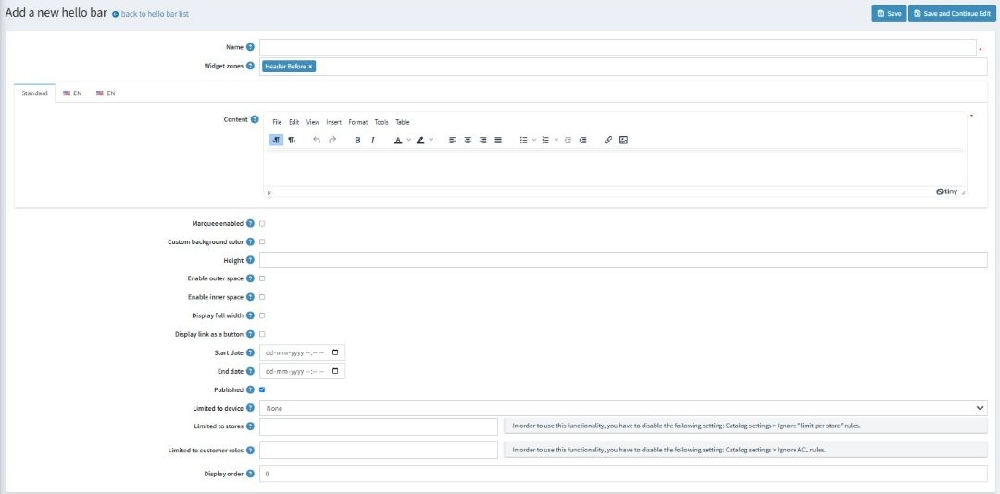
The settings on add a new hello bar is explained below:
- Name: Define a friendly name for the Hello Bar.
- Widget zone: Select the widget zone to display the Hello Bar on the public store.
- Content: Add description for hello bar. You can also add clickable links in the description of Hello Bar.
- Marquee enabled: Check to enable marquee for the hello bar.
- Marquee direction: Once Marquee is enabled, you can define the direction for marquee flow from the options available.
- Background color: Set background color for the Hello Bar. This would help you to highlight your content.
- Height: Define the height for the hello bar. (Note: Add height in pixel.)
- Enable Outer Space: When checked, this enables the option to add spacing outside the Hello Bar, effectively controlling its margin.
- Outer Space Left / Right / Top / Bottom: Set values (in pixels) to define how much empty space should be left around the outside of the Hello Bar in each direction.
- Enable Inner Space: When checked, this enables the option to add spacing inside the Hello Bar, effectively controlling its padding.
- Inner Space Left / Right / Top / Bottom: Set values (in pixels) to define how much empty space should exist inside the Hello Bar around its content.
- Display Full Width : If checked, the Hello Bar will stretch to fill the entire width of the screen. If unchecked, it will only take up as much horizontal space as its content.
- Display Link as a Button: If enabled, any hyperlink added to the Hello Bar will be shown as a styled button, making it more visually prominent. If disabled, the link will be shown as regular anchor text.
- Start date: Select the start date and time to publish the hello bar on your nopCommerce store.
- End Date: Select the end date and time to end the hello bar on your nopCommerce store.
- Display order: Add the display order of the hello bar for the public store.
- Published: Check for publishing and unpublishing Hello bar.
- Limited to stores: Select any store for which you wish not to display a Hello bar.
- Limited to customer roles: Select a customer role for whom you wish not to display a Hello bar.
- In the end, don’t forget to Save all your settings.