Fitment attributes - Automobile fitment search
Buy NowThe Fitment Attributes section allows the store administrator to define and manage vehicle-related attributes such as Make, Model, and Year - which are essential for creating accurate fitment data.
These attributes determine how the vehicle search filter functions on the storefront, ensuring that customers can find products compatible with their specific vehicles.
Default Fitment Attributes
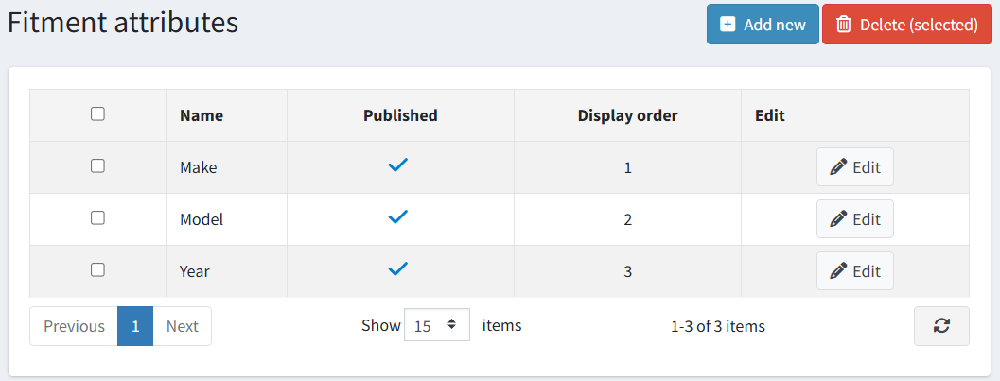
By default, the system includes the following three fitment attributes:
- Make
- Model
- Year
These default attributes form the standard hierarchy for vehicle selection.
However, the store administrator can rename, edit, or delete these attributes, and can also add new custom attributes (e.g., Engine Type, Variant, Fuel Type, etc.) as per business requirements.
Adding a New Fitment Attribute
To create a new fitment attribute, click the Add new button on the Fitment Attributes page. This will open the add Fitment Attribute Details page, where you can define the details of the new attribute.
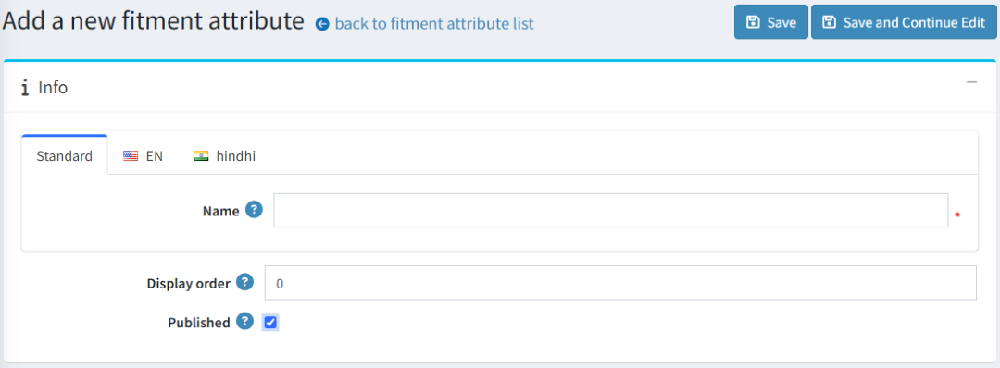
Info Section: The Info section allows you to define or update the information of the fitment attribute.
Fields Description
- Name: Enter the name of the fitment attribute. (For example: Make, Model, Year, or any custom name (such as Engine Type or Fuel Type).
- Display Order: Specify the order in which the attribute will appear in the vehicle search filter. Lower numbers appear first (e.g., Make should come before Model).
- Published: Select this checkbox to make the attribute active and visible in the system. If left unchecked, the attribute will remain inactive and hidden from the storefront.
After entering all the required details, click Save or Save and Continue Edit to confirm your changes.
Adding Attribute Values
Once a fitment attribute (for example, Make, Model, or Year) has been created and saved, you can define its specific values from the Values section within the Edit Fitment Attribute Details page.
The Values section allows the store administrator to add, edit, or delete specific options related to the selected fitment attribute.
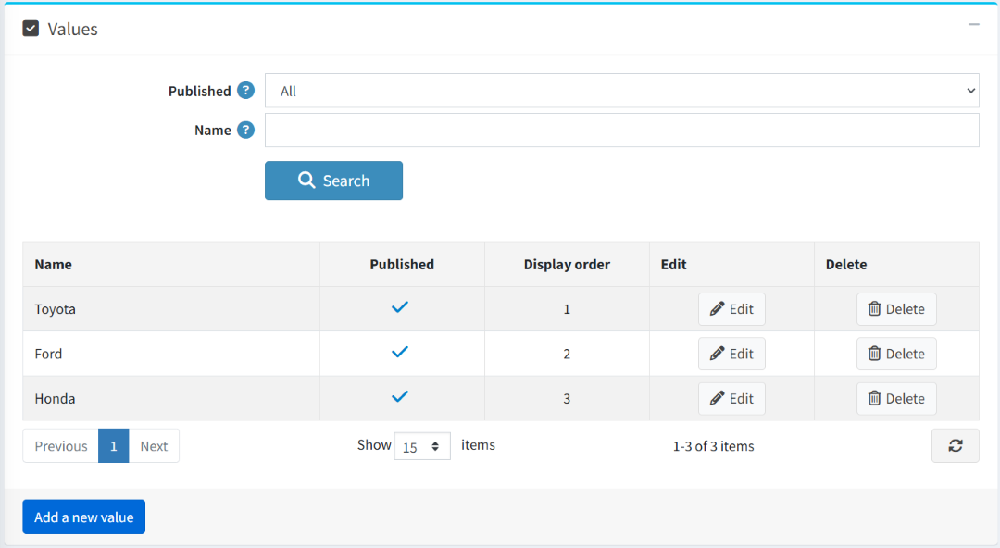
In the Values section, click Add a new value. A form will appear to add the new value for the selected attribute.
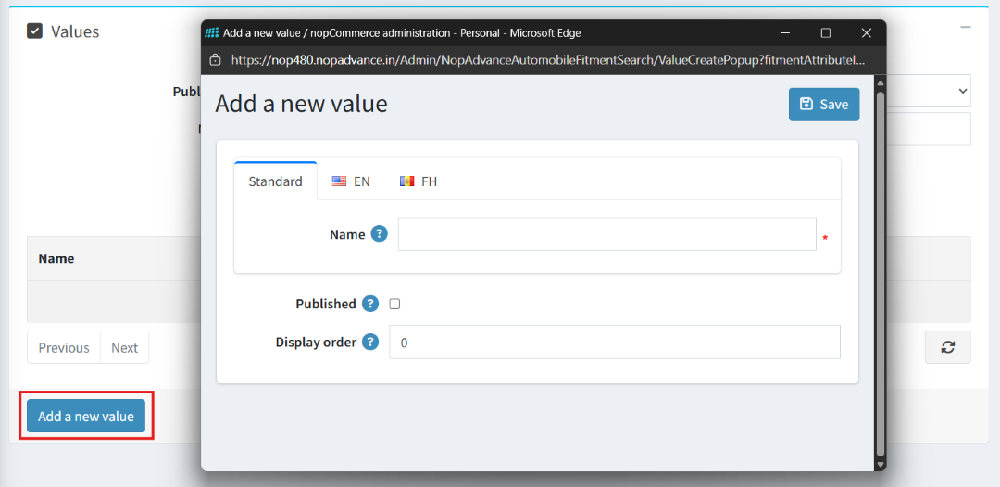
Fill in the following details:
- Name: Enter the name of the value.
- For example:
- For the Make attribute → Toyota, Ford, Honda
- For the Year attribute → 2019, 2020, 2021
- For example:
- Published: Check this box to make the value visible and available for selection on the storefront.
- Display Order: Specify the order in which the value should appear in dropdown lists.
Import and Export Fitment Attribute Values

The Import and Export buttons allow the store administrator to manage large sets of fitment attribute values efficiently. These options are especially useful when working with extensive vehicle data (for example, hundreds of makes, models, or years).
Located at the top-right of the Values section, these buttons help in quickly transferring fitment data between systems or performing bulk updates.
- Export: The Export button is used to download all existing fitment attribute values into a structured file format (typically .xlsx or .csv).
- Import: The Import button allows the admin to upload multiple fitment attribute values at once using an Excel or CSV file.