Plugin Guide - - Mini Wishlist Plugin
Buy NowConfigure
This plugin is delivered with the NopAdvance Core plugin on which this plugin is dependent. You need to install the plugin using the plugin installation guide provided here.
Once the plugin has been installed, you will see the menu under NopAdvance > Plugins > Mini wishlist in your nopCommerce admin menu, similar to the below image.
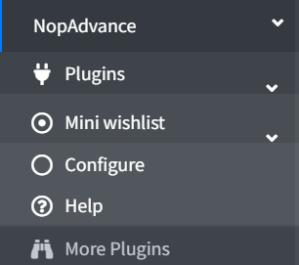
Click on the Configure menu item from the Mini Wishlist plugin menu as displayed above and you will be redirected to the plugin Configuration page.
Once you click on the configure menu item, it will display the configuration page as shown in the image below.
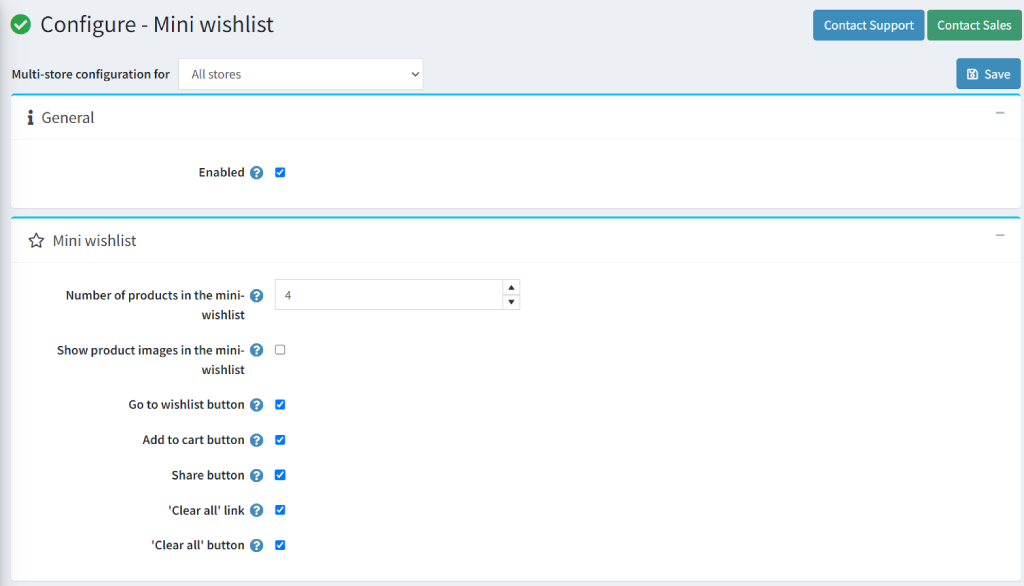
The settings from the configuration page are explained below:
- Enable: Select this setting to enable the plugin on your nopCommerce store.
- Number of products in the mini-wishlist: Specify the number of products to be displayed on the mini-wishlist pop-up.
- Show product images in the mini-wishlist: Determine whether product images should be displayed in the mini-wishlist pop-up.
- Go to wishlist button: Check to display the Go to wishlist button on the pop-up.
- Add to cart button: Check to display the Add to cart button on the pop-up.
- Share button: Check to display the Share button on the pop-up.
- ‘Clear all’ link: Check to display the clear all link on the wishlist popup.
- ‘Clear all’ button: Check to display the clear all button on the wishlist page.