Plugin Guide - External Authentication - External Authentication
Buy NowTable of contents
Configure
This plugin is delivered with the NopAdvance Core plugin on which this plugin is dependent. You need to install the plugin using the plugin installation guide provided here.
Once the plugin has been installed, you will see the plugin menu under NopAdvance > Plugins > External authentications in your nopCommerce admin menu, similar to the below image.
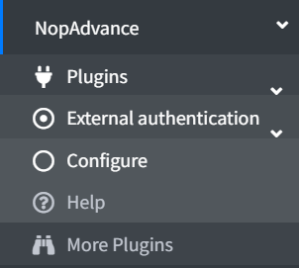
Click on the Configure menu item from the External Authentications plugin menu as displayed above and you will be redirected to the plugin Configuration page.
Once you click on the Configure menu item, it will display the configuration page with social networks authentication panel.
The settings from the configuration page are explained below:
Facebook Authentication: (Back to top)
Once you click on Configure menu item, it will display the Facebook configuration panels as shown in the image below:
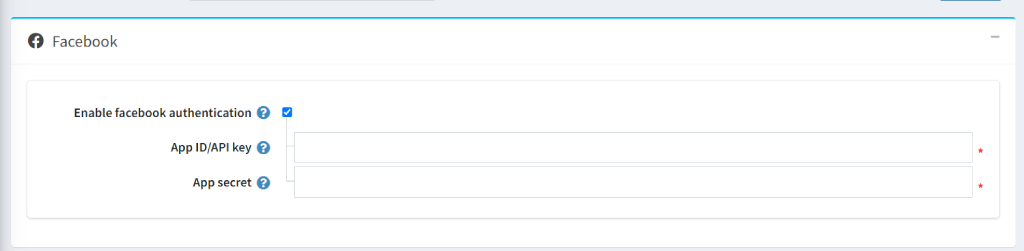
- Enable Facebook authentication: Enable this setting to integrate facebook sign-in into specific or all stores.
- App ID/API Key: Enter App ID provided on facebook application page.
- App secret: Enter App secret provided on facebook application page.
Google Authentication: (Back to top)
Once you click on the Configure menu item, it will display the Google Configuration panel as shown in the image below:
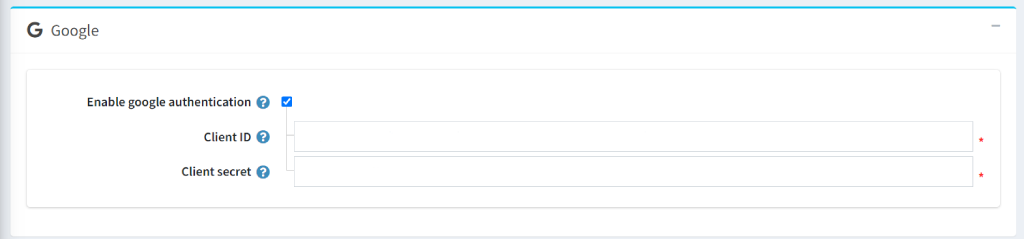
Enable Google authentication: Enable this setting to integrate google sign-in into specific or all stores.
- Client ID: Enter Client ID provided when a new project is created on Google developer console.
- Client Secret: Enter Client Secret provided when a project is created on Google developer console.
Microsoft Authentication: (Back to top)
Once you click on the Configure menu item, it will display the Microsoft configuration panel as shown in the image below:
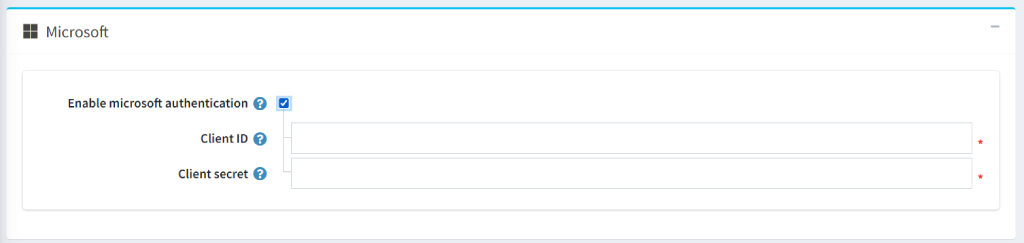
- Enable Microsoft authentication: Enable this setting to integrate Microsoft sign-in into specific or all stores.
- Client ID: Client ID provided when new registration is created on Azure portal.
- Client Secret: Enter client secret provided by microsoft when new registration is created on Azure portal.
Twitter Authentication: (Back to top)
Once you click on the Configure menu item, it will display the Twitter configuration panel as shown in the image below:
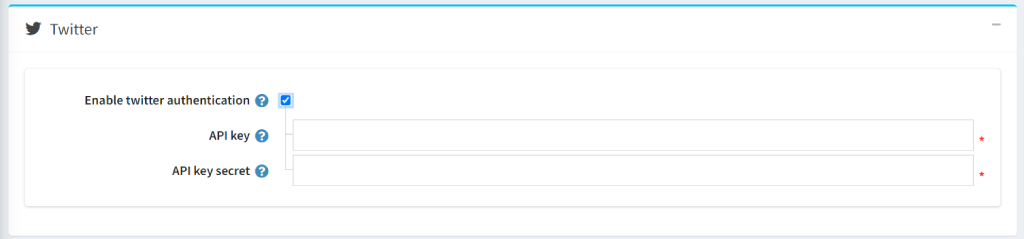
- Enable Twitter authentication: Enable this setting to integrate Twitter sign-in into specific or all stores.
- Consumer key: Enter API key provided when an app is created on a developer account.
- Consumer secret: Enter Secret key provided when an app is created on a developer account.
Linkedin Authentication: (Back to top)
Once you click on the Configure menu item, it will display the LinkedIn configuration panel as shown in the image below:
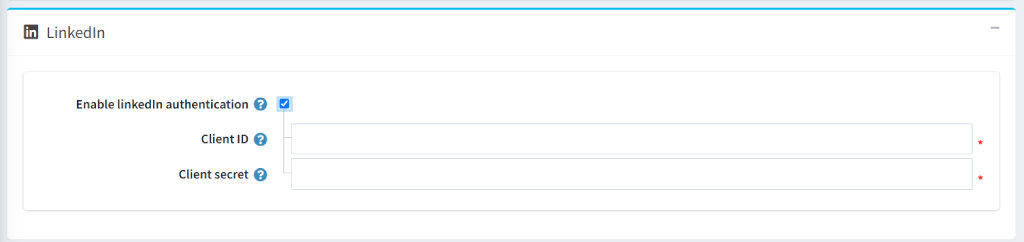
- Enable Linkedin authentication: Enable this setting to integrate Linkedin sign-in into specific or all stores.
- Client ID: Enter Client ID provided when the app is created on Linkedin developers site.
- Client secret: Enter Client secret provided when the app is created on Linkedin developers site.
Amazon Authentication: (Back to top)
Once click on the Configure menu item, it will display the Amazon configuration panel as shown in the image below:
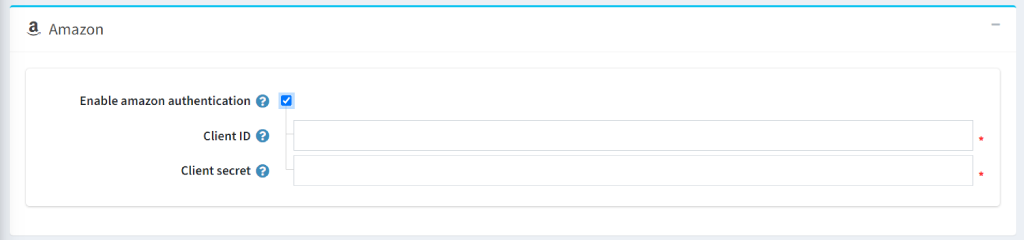
- Enable Amazon authentication: Enable this setting to integrate Amazon sign-in specific or all stores.
- Client ID: Enter Client ID provided when the security profile is created by Amazon developers site.
- Client secret: Enter Client secret provided when the security profile is created on Amazon developers site.
How to integrate Social networks with nopCommerce Store? (Back to top)
Facebook Authentication:
To configure authentication with Facebook, Refer this link.
Google Authentication: (Back to top)
To configure authentication with Google, please follow these steps:
- Go to the Google developer console.
- Navigate to the tab Credentials.
- Click Select a project > New Project and then click the button Create.
- Enter the Application name, Authorized domains and click button Save.
- Click the button Create Credentials and from the dropdown list, select OAuth client ID.
- From the Application type, select the Web application, enter valid Authorized redirect URLs (e.g. http://{app domain name}/signin-google) and click the button Create.
- Copy your Client ID and Client secret on the configuration page.
Microsoft Authentication: (Back to top)
To configure authentication with Microsoft, please follow these steps:
- Go to App registration in the Azure portal. If needed, sign in with your microsoft account.
- Select New registration, then enter an application name.
- Under Supported account type, select Accounts in any organizational directory (Any Azure AD directory - Multitenant) and personal Microsoft accounts (e.g. Skype, Xbox)
- In redirect URLs, select Web, and then enter URL (e.g. https://{app domain name}/signin-microsoft). Replace <app-domain-name> with the domain name of your app. Be sure to use the HTTPs scheme in the URL.
- Select Register.
- Copy the Application (Client) ID.
- From the left pane, select Certificate & Secret > New client secret. Enter a description, select the validity duration, and select Add.
- Copy the Secret ID that appears on the Certificates & secrets page and paste it on the configuration page.
Twitter Authentication: (Back to top)
To configure authentication with Twitter, please follow these steps:
- Create a developer account on Twitter using this link. If needed, sign in with your twitter account.
- Navigate to developer portal - https://developer.twitter.com/en
- Provide basic information and click Next.
- Accept terms & conditions and click Submit. Provide app name & click Get keys.
- Click Test an endpoint.
- On the dashboard, Click Create Project. Provide required information - (Project name, app name) and Click Next.
- Click App settings.
- Go to Authentication settings, Click Edit.
- Enable 3-legged OAuth and Request email address from users.
- Provide Callback URL - e.g. https://{app domain name}/signin-twitter
- Provide Website URL - e.g. https://{app domain name}/
- Provide terms and services & Provide policy URL and click Save.
- Click the Key and Tokens tab. Click Regenerate to generate API key & secret.
- Copy API key & secret and paste on configuration page as shown in image below.
Linkedin Authentication: (Back to top)
To configure authentication with Linkedin, please follow these steps:
- Go to the Linkedin developers site. If needed, sign in with a Linkedin account.
- Click Create App.
- Provide App name and other required fields.
- Navigate to the tab “Auth”.
- Add Authorized redirected URL (e.g. https://{app domain name}/login-linkedin) and click Update.
- Copy your Client ID & Client secret on the configuration page as shown in below image.
Amazon Authentication: (Back to top)
To configure authentication with Amazon, please follow these steps:
- Create a developer account on Amazon using this link. If needed, sign in with your amazon account.
- Click Create a new security profile.
- Enter required information & click Save.
- It will create a security profile with oAuth2 credentials.
- Click on Settings > Web Settings of security profile.
- Click Edit and update Allowed Origin (e.g. https://www.yourwebsite.com), Allowed Return URLs (e.g. https://www.yourwebsite.com/login-amazon) and click Save.
- Click Show Client ID and Client Secret and copy it on the configuration page as shown in the below image.