Plugin Guide - Exit Intent Popup
Buy NowTable of contents
Configure
This plugin is delivered with the NopAdvance Core plugin on which this plugin is dependent. You need to install the plugin using the plugin installation guide provided here.
Once the plugin has been installed, you will see the plugin menu under NopAdvance > Plugins > Exit intent popup in your nopCommerce admin menu, similar as displayed in the below image.
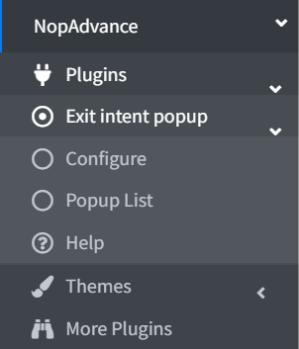
Click on the Configure menu item from the Exit intent popup menu as displayed above and you will be redirected to the plugin Configuration page.
Once you click on the configure menu item, it will display the configuration page as shown in the image below.

The settings from the configuration page are explained below:
- Enable: Select this setting to enable the Exit Intent plugin on your nopCommerce website store.
Popup Lists (Back to top)
Once clicked on the Popup list menu item, it will display the Popups list page as shown in the image below:
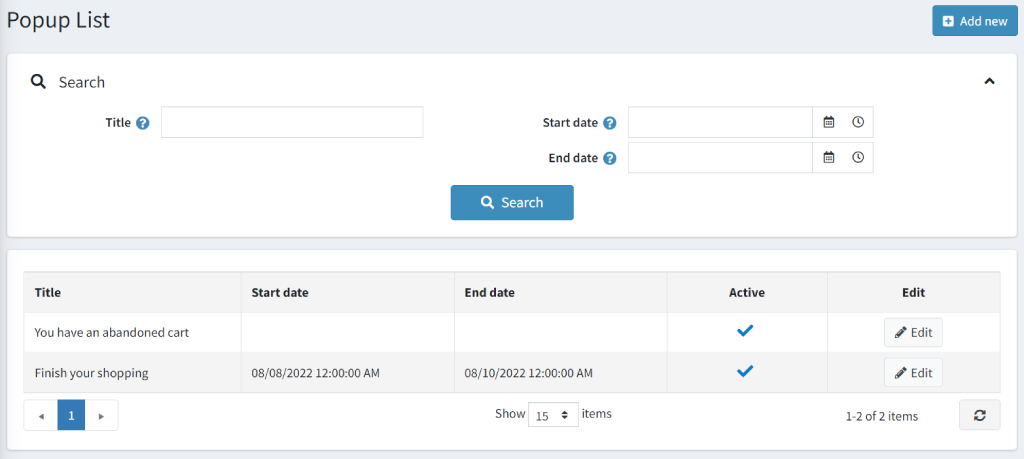
On the Popup list page, a search panel is available to search popup lists & list of existing popup lists.
Add a new popup list (Back to top)
Once you click on the Add New button, it will display the Add a new hello bar as shown in the image below.
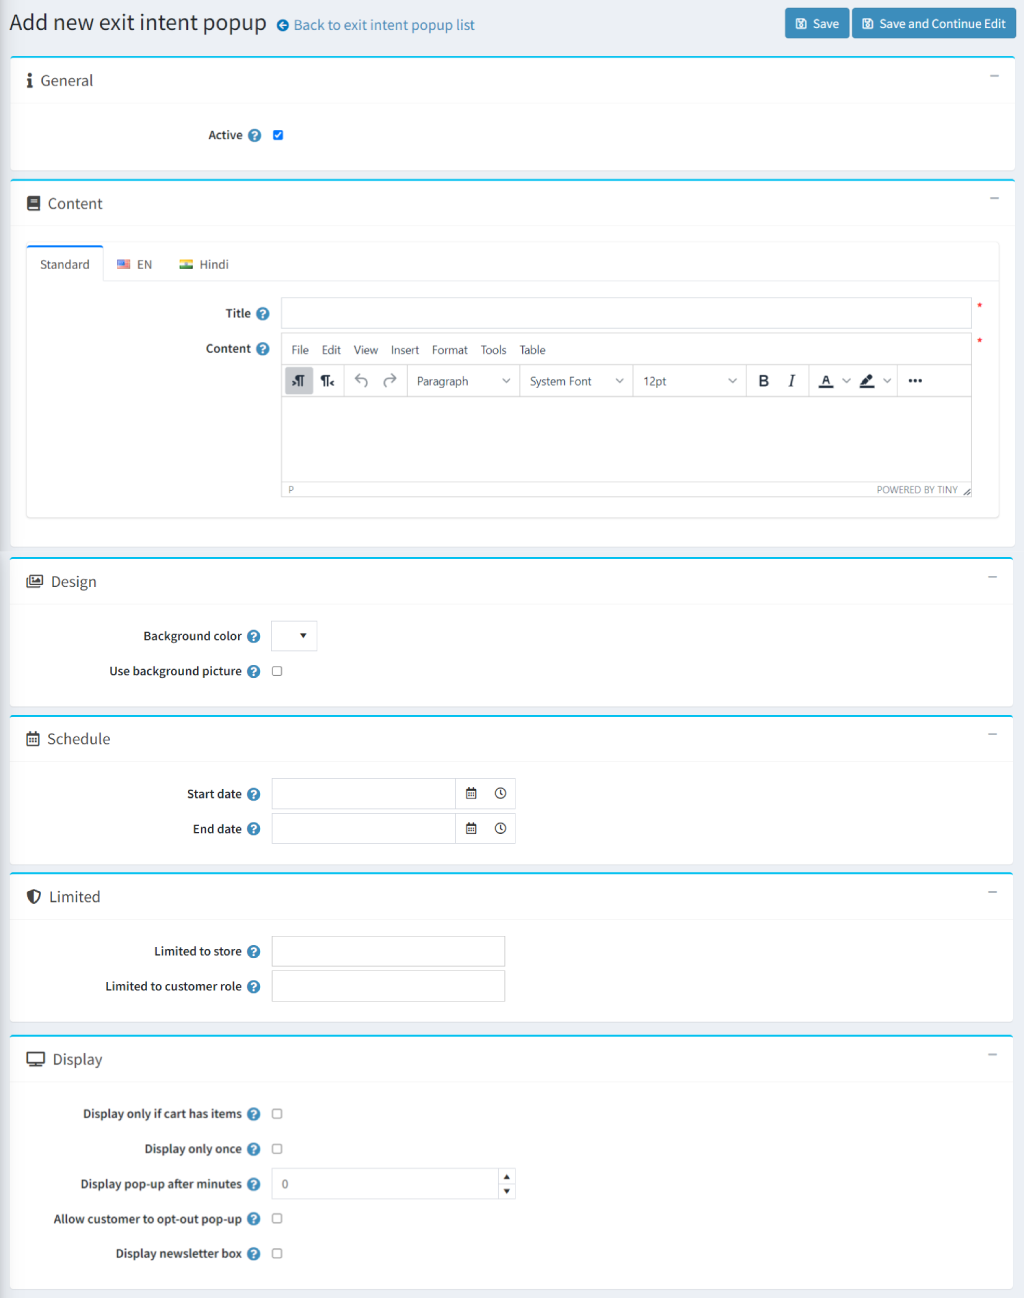
The settings on add a new hello bar is explained below:
- General
- Active: Checkbox to active and inactive popup.
- Content
- Title: Add a title name for the popup. This title will be displayed as a heading for the popup.
- Content: Add message for the Popup. You can also add clickable links in the description of the popup.
- Design
- Background color: Set background color for the Pop-up. This would help you to highlight your content.
- Use background: Check this setting if you want to add a background image to the popup.
- Use background picture: Upload a background image here.
- Schedule
- Start Date: Select the start date and time to publish the popup on your nopCommerce store.
- End Date: Select the end date and time to end the popup on your nopCommerce store.
- Limited
- Limited to store: Select any store for which you wish not to display a Popup.
- Limited to customer role: Select a customer role for whom you wish to display a popup.
- Display
- Display only if cart has items: Check this option for displaying the popup when a customer has abandoned cart.
- Display only once: Check this option for displaying the popup only once.
- Display pop-up after minutes: If the above option is uncheck, then the store owner can set a timer for displaying pop-up at certain intervals of time.
- Allow customers to opt-out pop-up: Check this option to allow customers to opt-out of popup. Once the customer opt-out, they won't see the popup again.
- Display newsletter box: Check to display newsletter subscription box on the popup.
- In the end, don’t forget to Save all your settings.
Search Popups (Back to top)
Once you click on popup lists menu, you can see the Search Panel as shown in the image below:
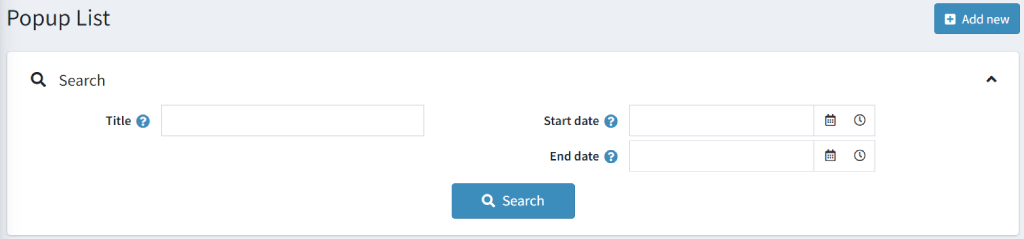
The above field is explained below:
⦁ Title: Enter the name of the Popup you want to search and click on the “Search” button.
⦁ Start date/End date: Add the start date and end date to the search Popup.
Edit a Popup List (Back to top)
Once you clicked on the Popup List menu, you can see an edit button on a popup list as shown in the image below:
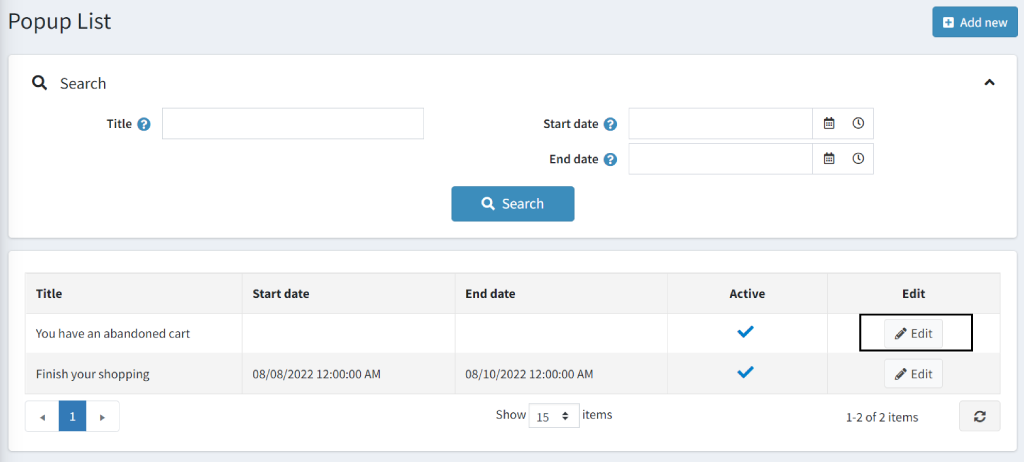
- Click on the edit option on a Popup list you want to edit and make needed changes.
- Then click on the Save button.