Plugin Guide - Custom Form Builder
Buy NowThe Form Builder Plugin for nopCommerce makes it easy to create powerful and flexible forms to collect customer information directly from your store. Whether you need a contact form, inquiry form, or custom data collection form, this plugin helps you build it quickly without any complexity.
With support for multiple field types, smart validations, and conditional logic, you can design interactive and user-friendly forms that fit your business needs. Display forms anywhere on your store, such as topic pages or widget zones, and control who can access them using customer roles and store settings.
The plugin also includes built-in features like CAPTCHA for spam protection, email notifications for both admin and customers, and a complete response management system. All submitted data is securely stored and can be easily viewed or exported from the admin panel.
Boost customer engagement, simplify data collection, and enhance your store’s functionality with the custom Form Builder Plugin for nopCommerce.
Key Highlights
- Create unlimited custom forms
- Multiple field types (Textbox, Dropdown, Checkbox, Radio, Date)
- Enable/Disable CAPTCHA
- Assign forms to widget zones or topics
- Limit forms by customer roles and stores
- Email notifications for admin and customer
- Conditional field logic
- View and export responses
Installation and configuration
All our plugins require you to first install the NopAdvance.Core plugin as a prerequisite for its operation. Please refer to the instructions on how to install a plugin while proceeding with the setup.
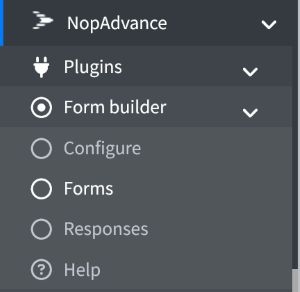
Once the plugin is successfully installed, the Custom Form Builder menu will be available in your nopCommerce admin panel under:
NopAdvance → Plugins → Form Builder
From here, administrators can access the configuration settings, manage forms and responses, and control plugin features, as shown in the image below.
Plugin Configuration
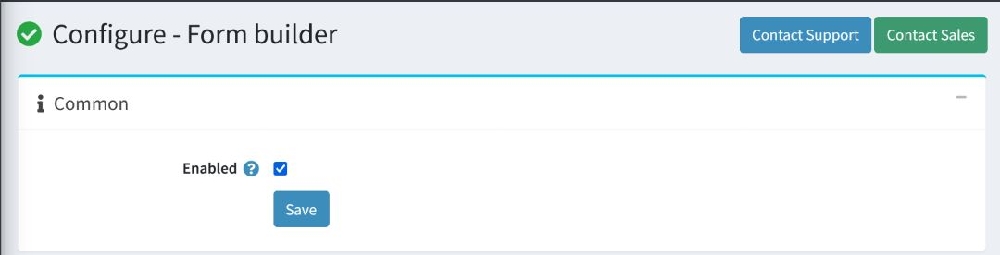
Selecting the Configure menu item will bring up the configuration page, as shown in the image below. From this page, administrators can enable or disable the plugin functionality.
Admin Panel Overview
Forms List Page:
View, search, filter, add, edit, and delete forms.
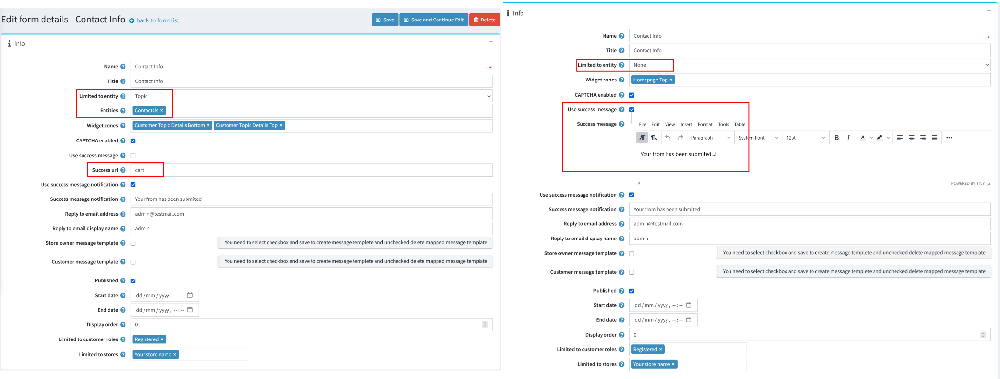
Create/Edit Form:
Configure form name, title, publish status, entity, widget zone, CAPTCHA, success message, and email settings.
Limited to entity: None, Topic:
This is an option for where the form should be located. Do you want to keep it on the 'Normal Page' (as per widget selection) or on the 'Topic Pages'(as per widget selection)
Email Settings in The Form
This section allows administrators to configure email communication for form submissions.
- Reply to email address: Defines the email address that will receive replies from customers. This ensures responses are directed to the correct inbox.
- Reply to email display name: Specifies the display name shown to customers when they receive emails. This helps identify the sender clearly.
- Store owner message template: Used to send notification emails to the store owner when a form is submitted.
- Select the checkbox and save to create or map the message template
- Uncheck the checkbox to remove or delete the mapped template
- Customer message template: Used to send confirmation emails to customers after form submission.
- Select the checkbox and save to create or map the message template
- Uncheck the checkbox to remove or delete the mapped template
Form Fields:
Add and manage fields like textbox, dropdown, checkbox, radio, and date picker. Configure validation, required fields, and display order.
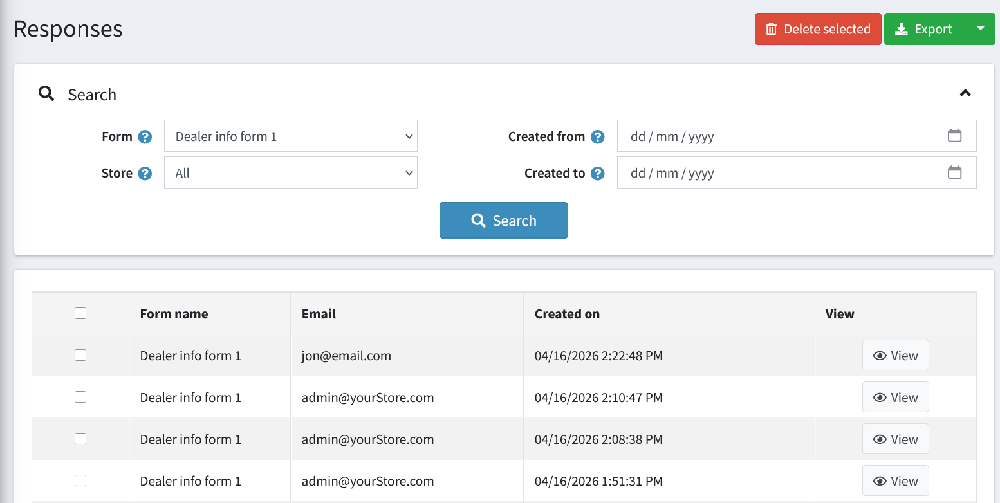
Form Responses:
Admin can view submitted responses, filter, export to Excel, and delete records.
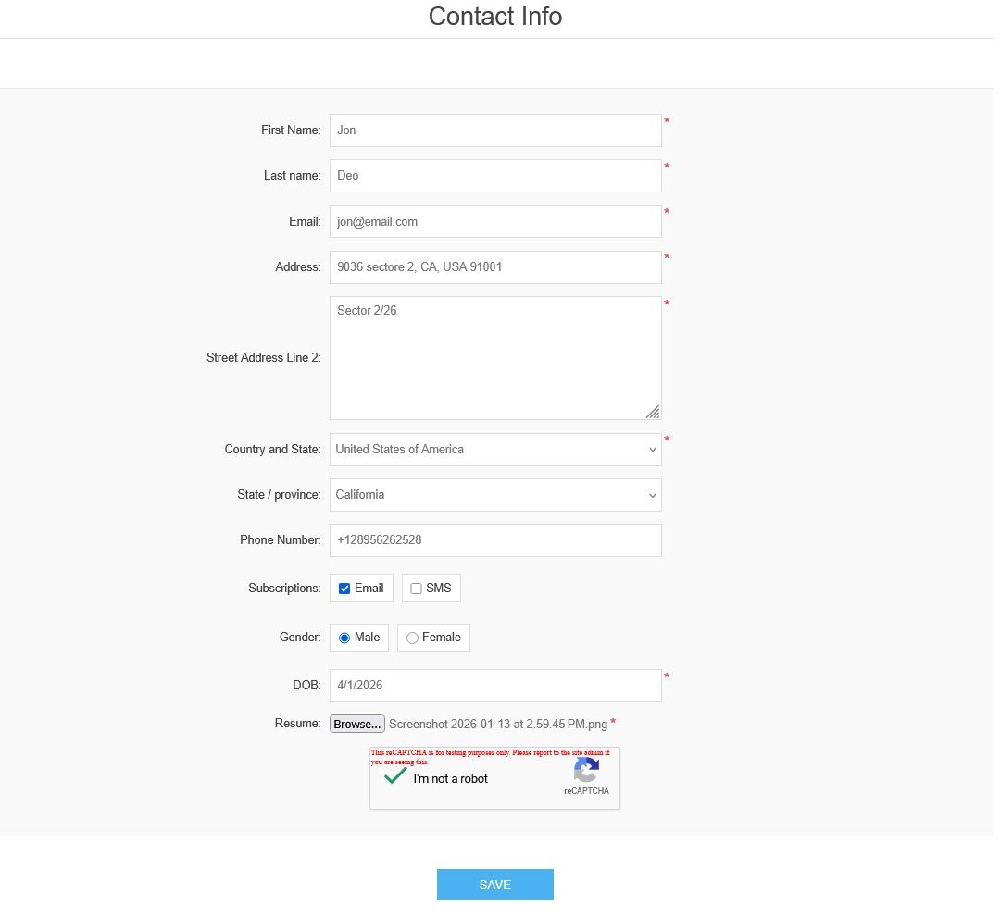
Customer Workflow
The customer fills the form, completes CAPTCHA (if enabled), submits it, sees success message, and data is stored in admin Or redirect to the respected page if added URL in ‘Success URL' field.